A Step-By-Step Solar Panel Installation Guide

Climate change is the most severe threat to our planet. It is causing polar ice caps to melt and the extinction of various species of flora and fauna. Switching to green energy is one of the best ways to combat climate change, and solar energy is a readily available form of green energy. Installing solar panels is an excellent way to make your home greener and reduce your carbon footprint.
Here’s a step-by-step guide to installing your solar panel in your home.
Step #1: Install the mount
The first step of the installation process is to fix the mount on which you will affix the solar panels. You can use roof-ground mounts or flush mounts, depending on space availability. Follow the instructions on the manual and ensure that your solar panels face towards the south to get the most sunlight.
Step #2: Affix the panels
Once the mounts are in place and secure, you can install the panels on them. Make sure you double-check all the nuts and bolts to ensure that the panels are secure and there is no risk of damage or injury to anyone.
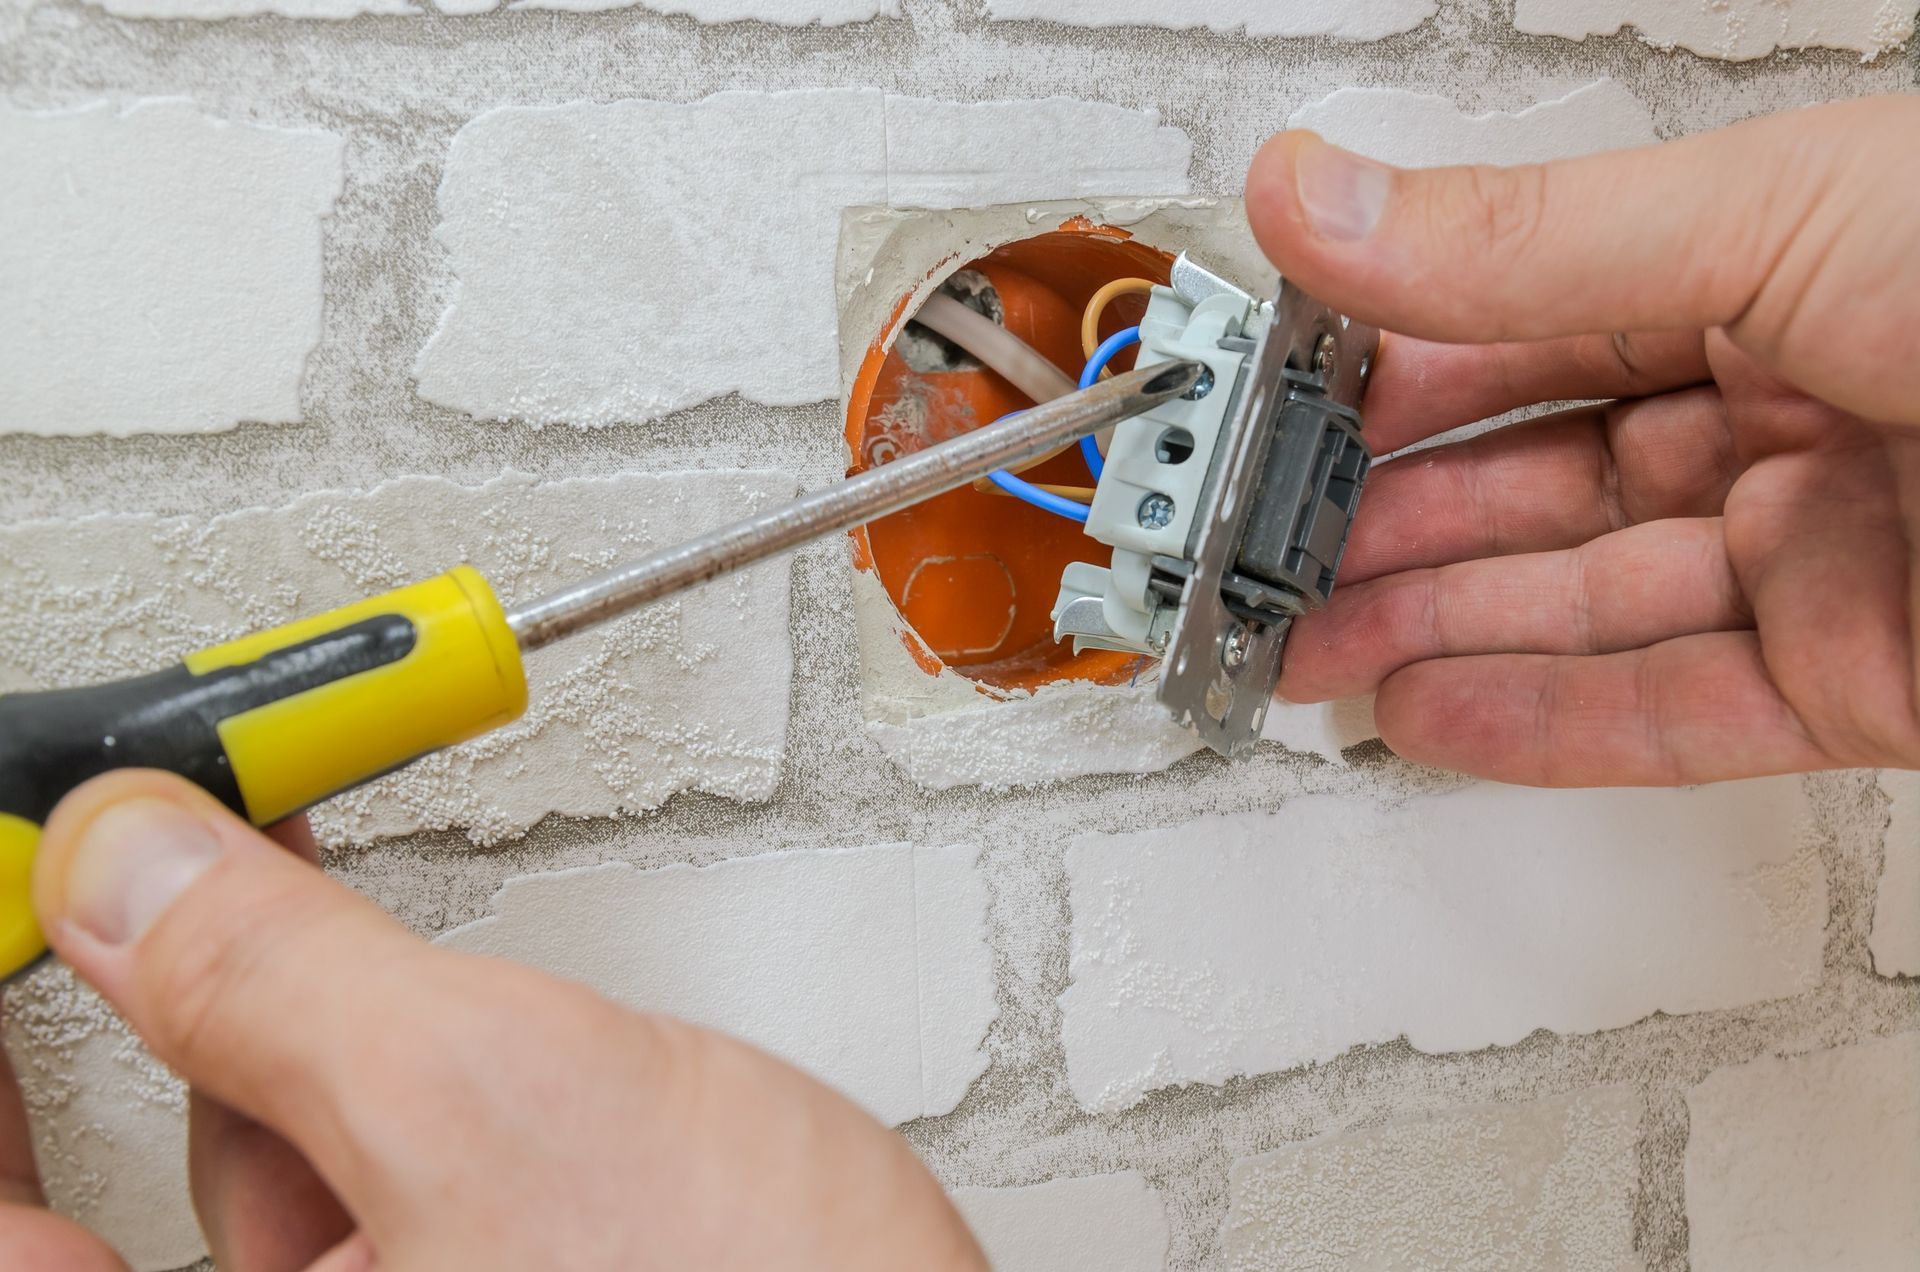
Step #3: Do the wiring
The next step is to take care of the wiring. Wiring is the most crucial step of the installation and the most complex part. If you feel you will face trouble with wiring, it is best to call professionals like Kantra Electrics for the job.
However, if you want to do it yourself, ensure that you match the positive module connection to the positive outlets on the panel, and negative modules to the negative outlets.
Step #4: Connect the system to the inverter
After you have completed the connections on the panel, the next step is to connect the panel to the solar inverter. The solar inverter generates power for your home from solar energy. The connections work similarly to the panel. Connect the positive connections with the positive terminal and the negative connection to the negative terminal.
Step #5: Connect the inverter to a solar battery
Once the inverter is set up, you need to connect the inverter to the battery. The battery stores the energy for your house, so you can use it when you need it. Connect the solar battery and the inverter by connecting the positive and negative panels with a wire.
Step #6: Connect the inverter to the grid
The last step is to connect the solar inverter to your electric grid. To do that, you can use a standard plug that you can plug into your main switchboard. After that, turn on the inverter and the master switch, and you are all set to use solar energy for your home.
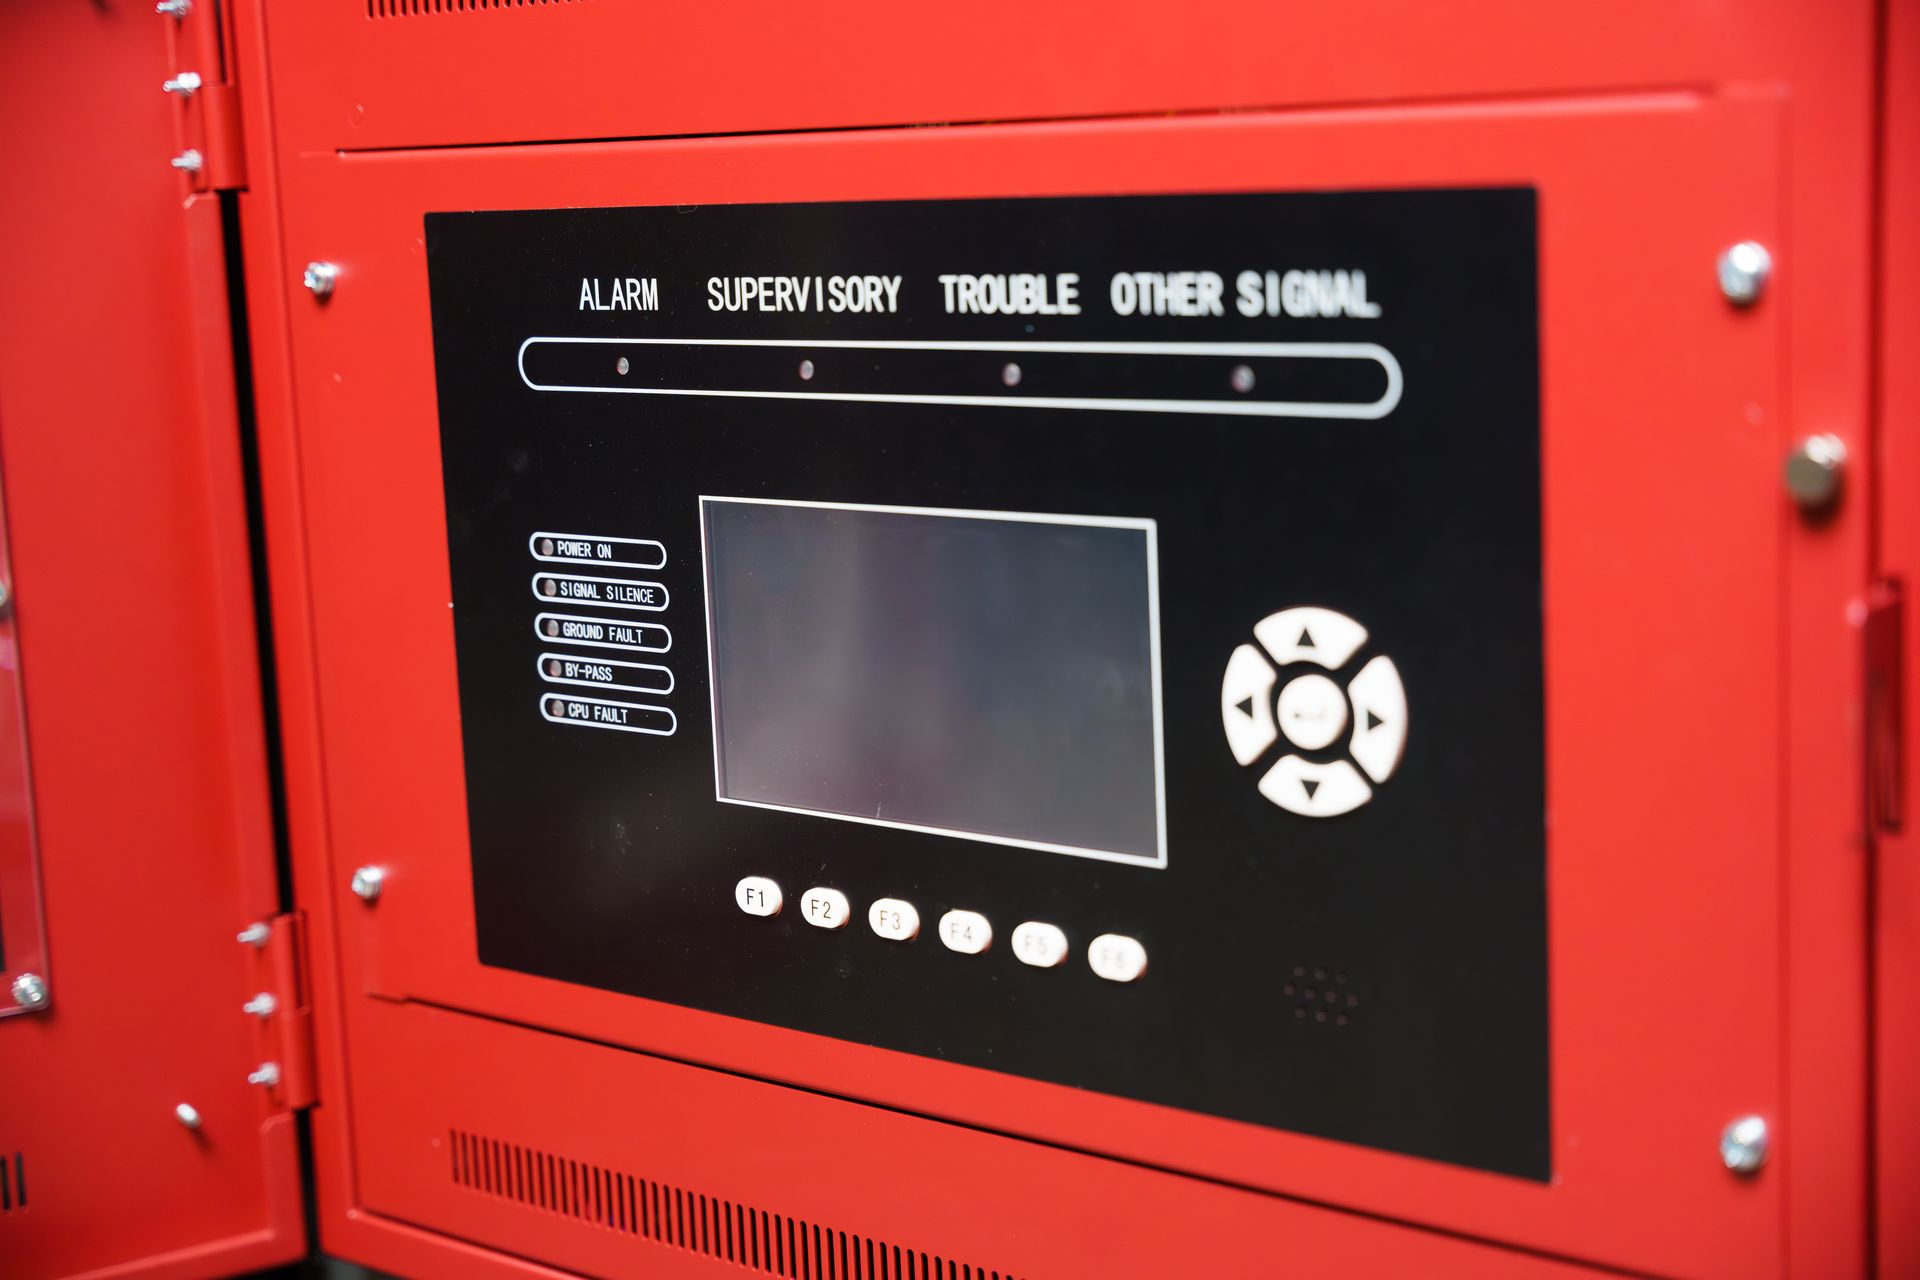
About Kantra Electric Inc
If you are looking for a reputable company to help install a solar power system in your home in the Calgary region, Kantra Electric is what you need. With over 30 years of industry experience, we pride ourselves on the excellent quality and unmatched workmanship we provide. Our services include electrical installation in new homes, renovations, fire alarm installation and repairs, and solar power installation, among others. You can reach out to us at 4033897414 or fill out our online contact form to know more.